Create a Foolproof Backup Image of Ubuntu ARM on Your Raspberry Pi
We've all been there—your Raspberry Pi, which has been running smoothly for years, suddenly crashes, and you lose all your data and configurations. I recently faced this issue and decided to find a more reliable backup solution. Here's how you can safeguard your Raspberry Pi running Ubuntu ARM. I had setup lot of softwares, automations and configurations which I now need to redo all from scratch.
While dd commands are commonly used for backups, they often fall short of providing a seamless backup and restore experience. After scouring Raspberry Pi forums, I discovered a utility that not only works well with Raspbian OS but also with Ubuntu ARM.
You can follow any software that can provide an interface to setup the backup but this guide will show you how to do it from bare SSH. Let's start.
Login to SSH
I usually mount all external storage be it NAS or Cloud via rclone at /mnt. So if you follow a similar setup, create a folder for the backup. Note: the utility will backup everything, so remember to not mount external storage under /opt or somewhere else those might be considered during the backup resulting in storage issues.
sudo mkdir /mnt/nas/backupVerify if you have access to the new folder
touch /mnt/nas/backup/testInstall the utility, pretty much copy/paste these command below
cd ~/ && wget -O image-files.zip "https://forums.raspberrypi.com/download/file.php?id=54873"

mkdir -p ~/image-files && mv ~/image-files.zip ~/image-files && cd ~/image-files && sudo apt install unzip && unzip ~/image-files/image-files.zip && rm ~/image-files/image-files.zip

sudo chown root:root ~/image-files/image* && sudo chmod +x ~/image-files/image*

sudo mkdir -p /usr/local/bin/ && sudo mv ~/image-files/* /usr/local/bin/ && sudo mv /usr/local/bin/README.txt /usr/local/bin/image-readme.txt

sudo image-backup
When its finished it will say "Image File to Create?" Just do Control + C to get out of it.
Now let's run the initial backup, this is only for the first time and we can then enable incremental backups using a Cron
sudo image-backup -u --initial /mnt/nas/backup/backup.img,XX,YYXX - backup size of base image in MB
YY - Additional size to allocate for incremental backups
-u is for making this work on Ubuntu, if you are running this on Raspberry Pi, you do not need this flag
Once the command completes, you can see the image file created on the external location

Now you can create an recurring backup using Cron
crontab -e

# Incremental Raspberry Pi for every Friday at 3am
0 3 * * 5 /usr/local/bin/image-backup /mnt/nas/backup/backup.img
Now that I have a backup, I wanted to test to see if it works, remember that enabling backups is just one side of the success, the rest depends on whether you have tested to see if the backup actually works.
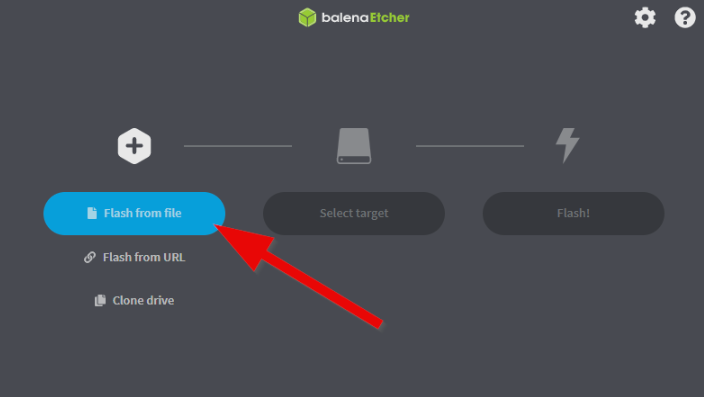
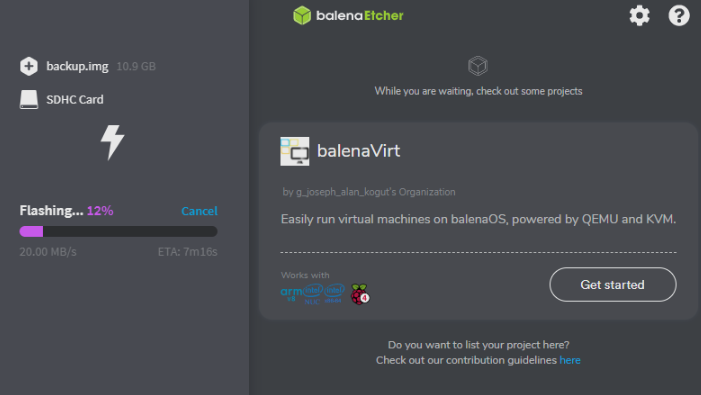
I grabbed a space SD Card and restored the image that was created earlier using Etcher tool
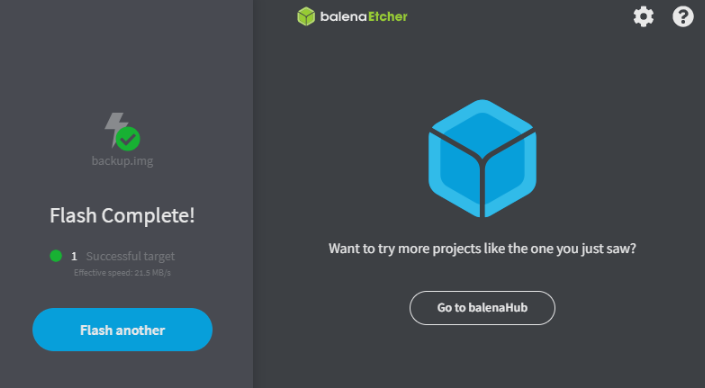
Took the existing memory card and swapped with the backup one and it booted well. Now I have a working backup that I can use to restore in minutes if the failure happens again. The same method should work on any VPS if you want to take a backup of the VPS and run the same on other servers.
Data loss can be devastating, but with this guide, you'll have a foolproof backup system for your Raspberry Pi running Ubuntu ARM. Your questions and insights are welcome. Connect with me on Matrix: @teej:teej.sh.
You can also subscribe to my Newsletter to get content delivered to your inbox.